
We worked on Mike's car some time ago, but only now are we finally getting round to writing it up! Grab youself a slice of cake, as this is a big one!
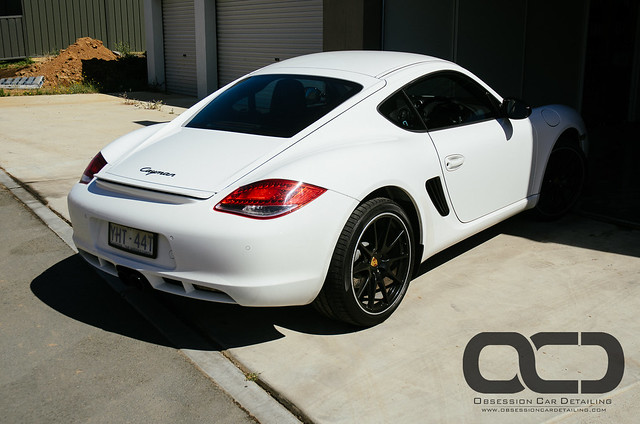
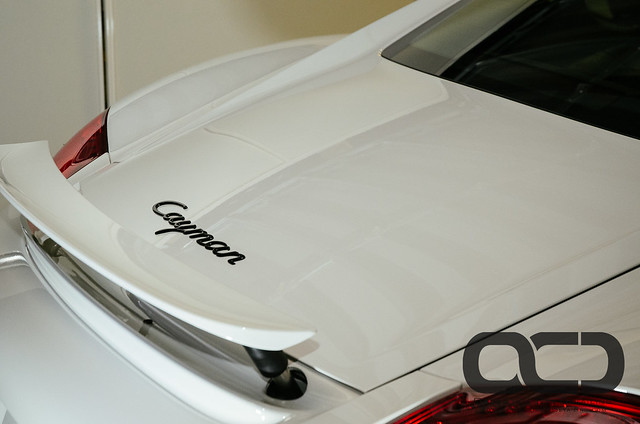
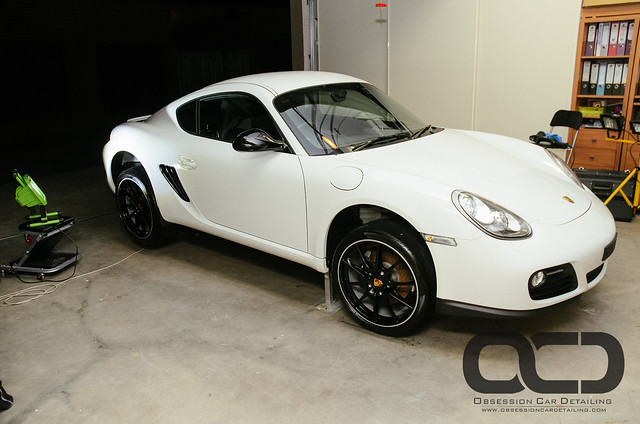
Mike has owned his Cayman for some time, and wanted to get it looking as new again, and protect it with something durable. Enter Opti-Coat. Being a white car, a glass type coating would not provide any benefit, and with Opti-Coat providing proven protection, and superior longevity, the choice was simple.
Our job was to detail the car, in and out, wheels off, to get it like new, within Mike's time frame and budget. It was a hectic few days, but we managed it, and we are pleased to say Mike was blown away.
Enjoy the read, and check out https://www.flickr.com/photos/obsessioncardetailing/sets/72157643553575685/ for all the pictures. Don't forget to like us on Facebook!
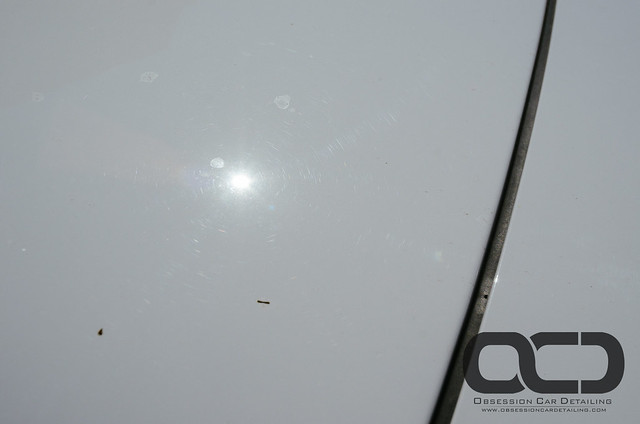
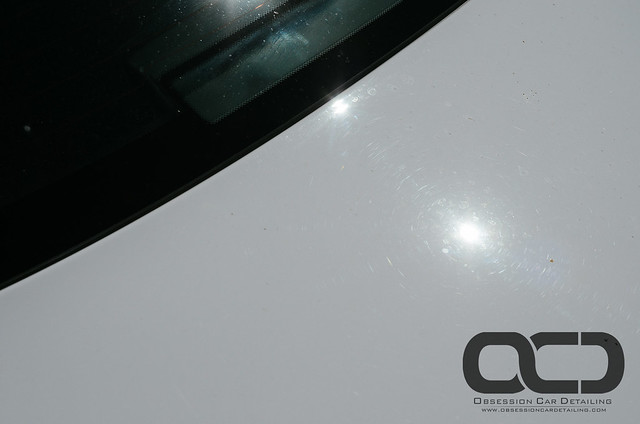
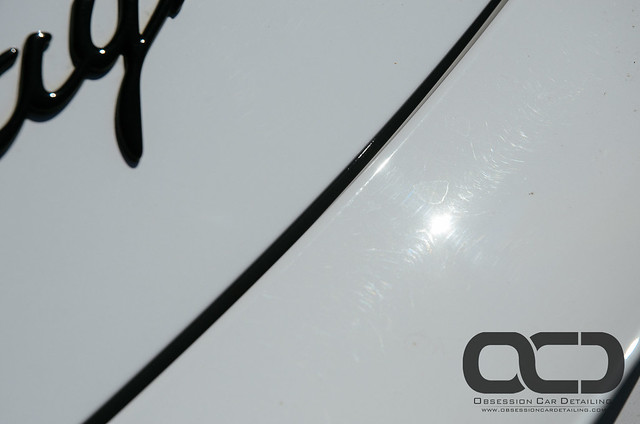
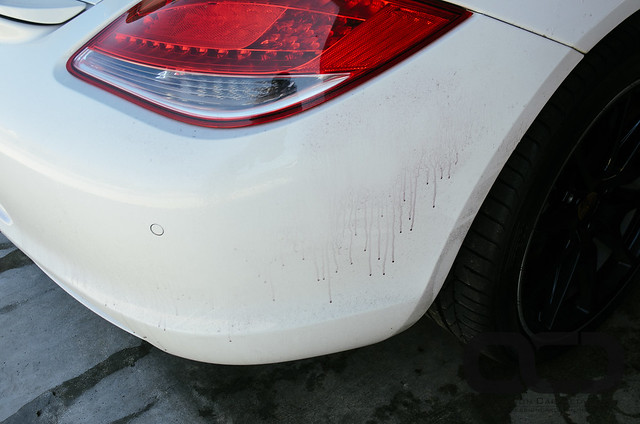
Upon arrival, we were presented with swirls, scratches, water marks, dirt, everything you don't want on such a fine car!
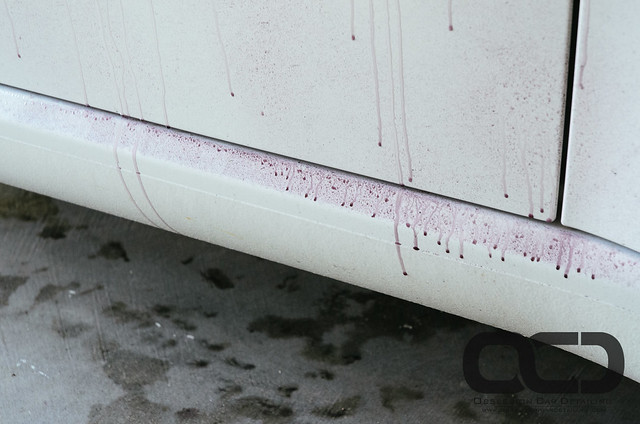
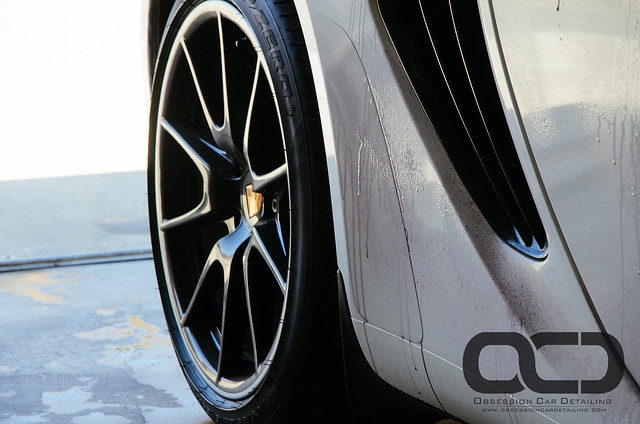
Starting by removing iron fall out:
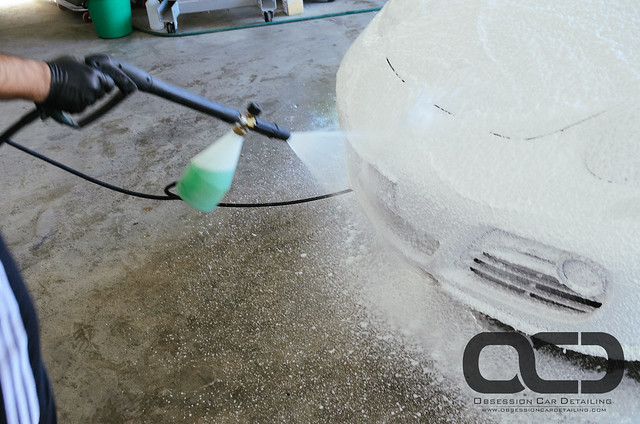
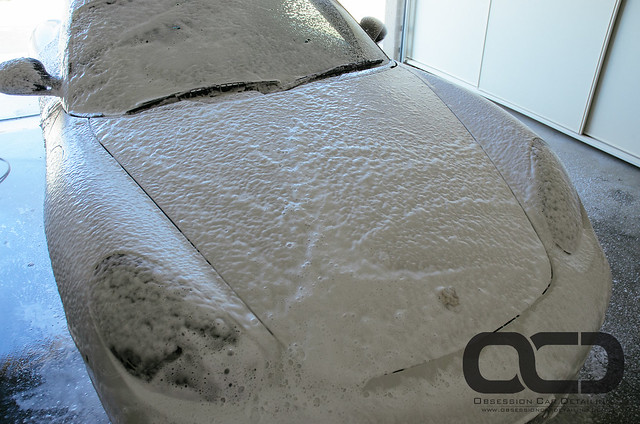
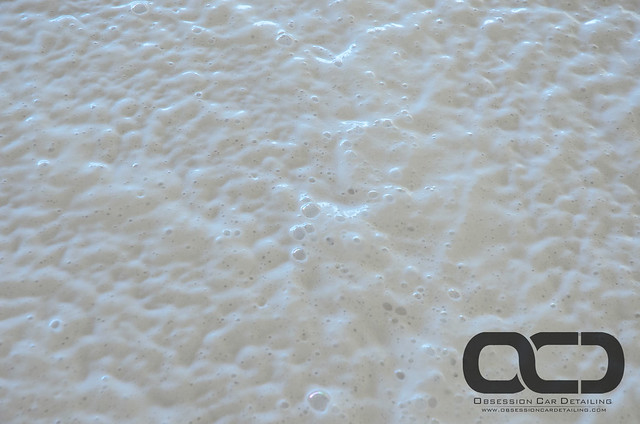
Then a foam bath:
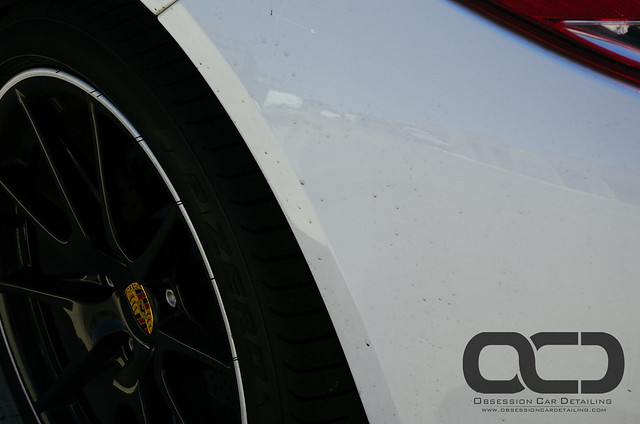
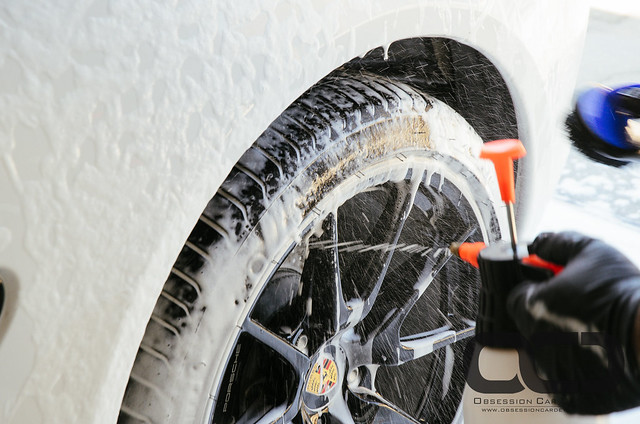
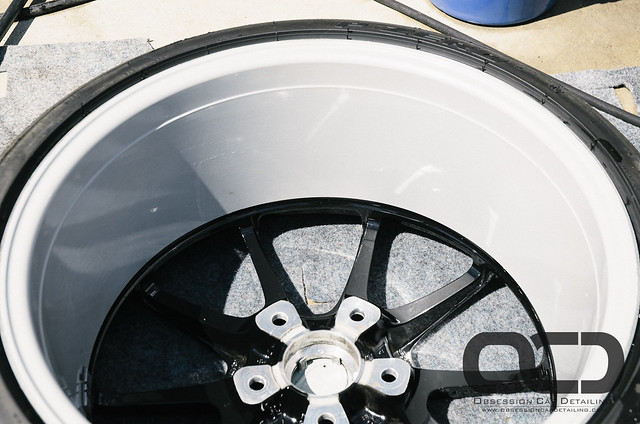
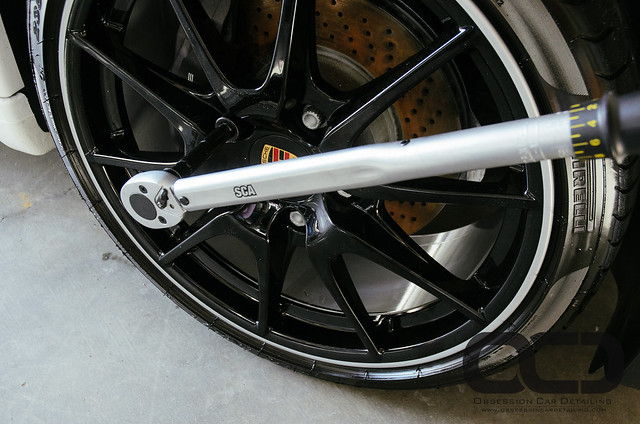
Working on the wheels:
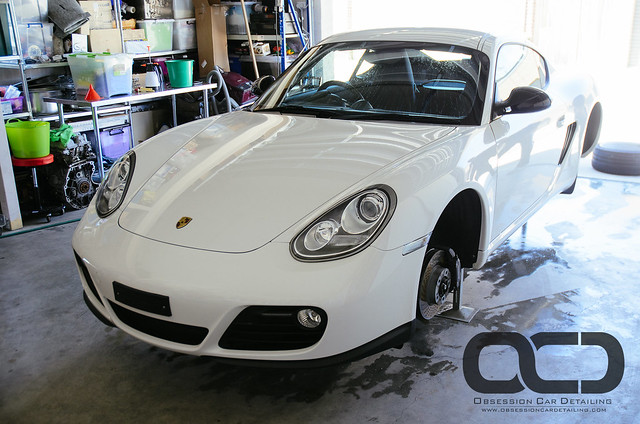
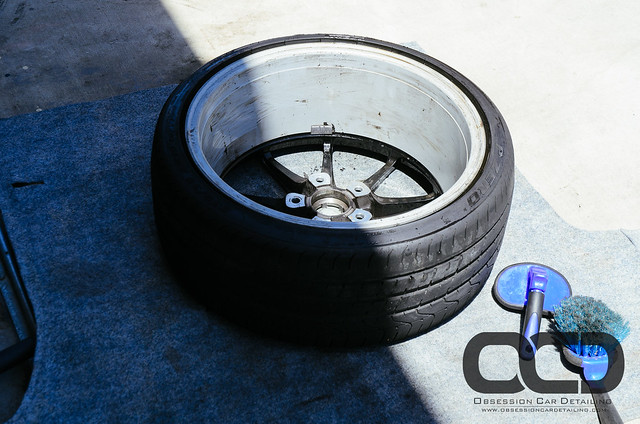
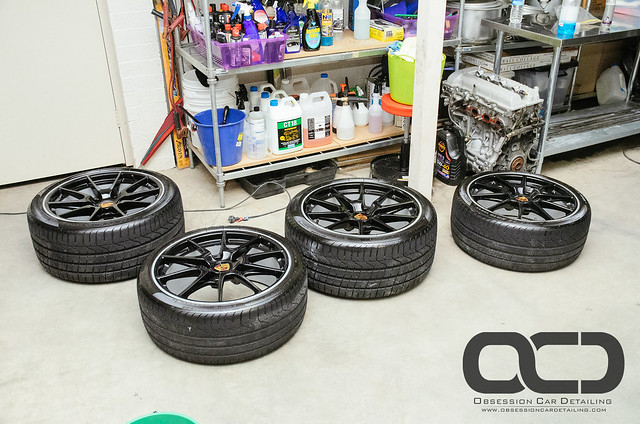
And taken off:
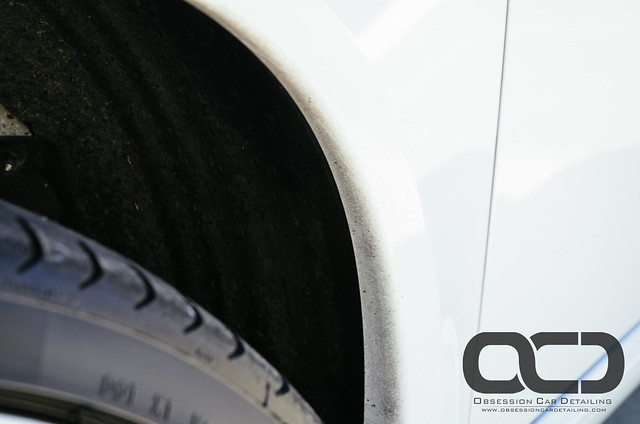
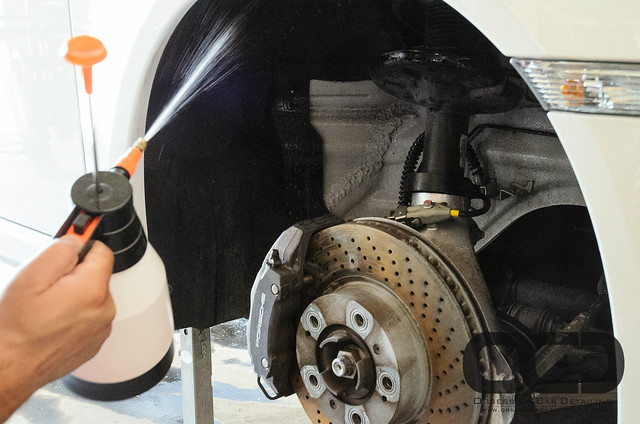
Attacking the undercarriage:
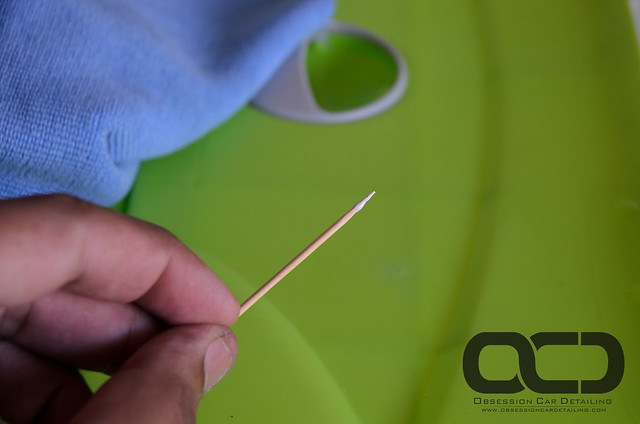
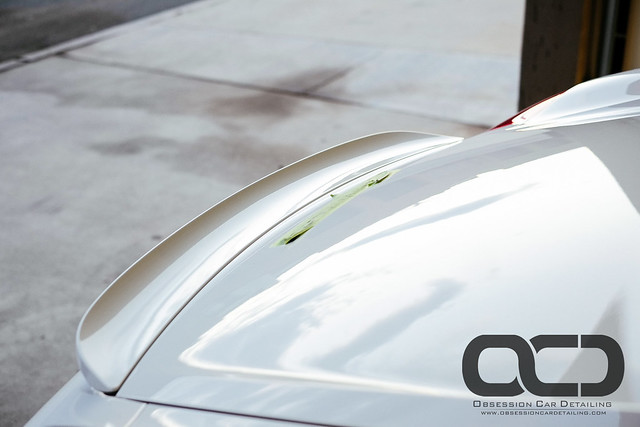
And touching up some stone chips:
The wheels were a mission. We spent 5-6 hours on the wheels alone!
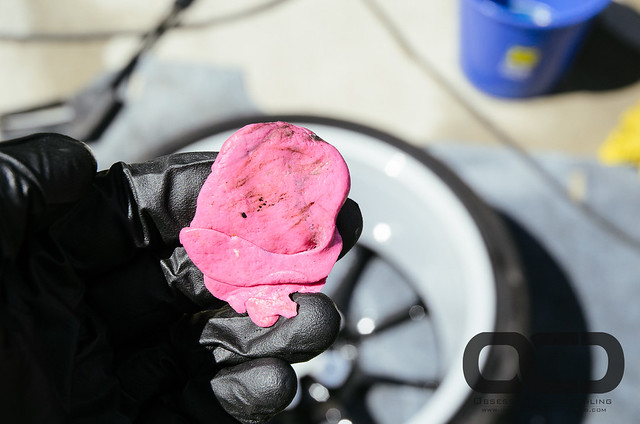
We used clay to remove contaminants:
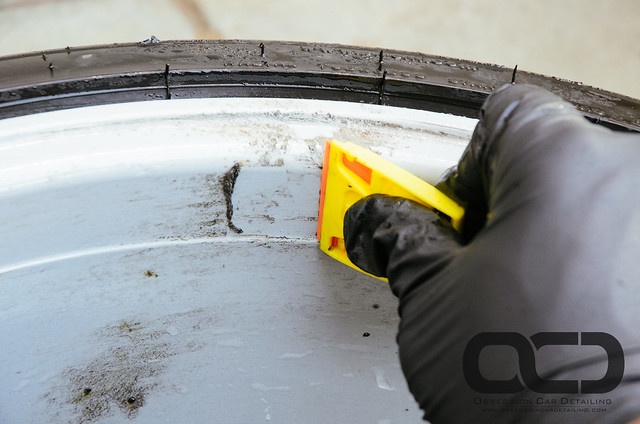
Along with a plastic razor blade:
Much better!
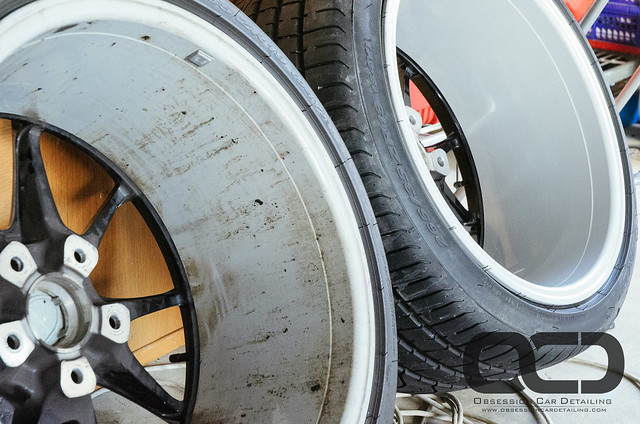
Side by side:
The Porsche paint was one of the most challenging we have worked with, it was super hard, and almost nothing removed the swirls. After hours of testing we hit upon a combination that worked, and the long, slow, detailed process of correction began.
Washing and drying pads as we go:

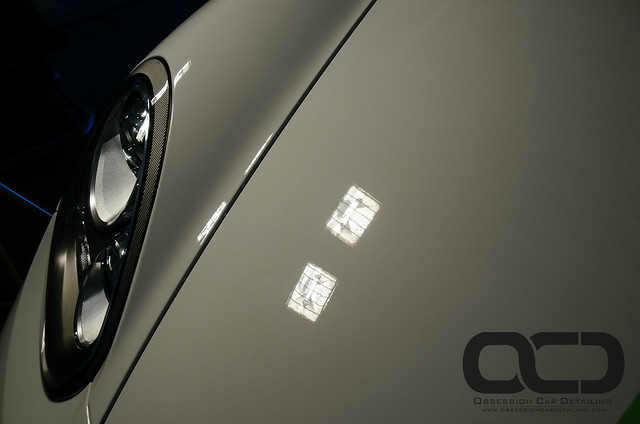
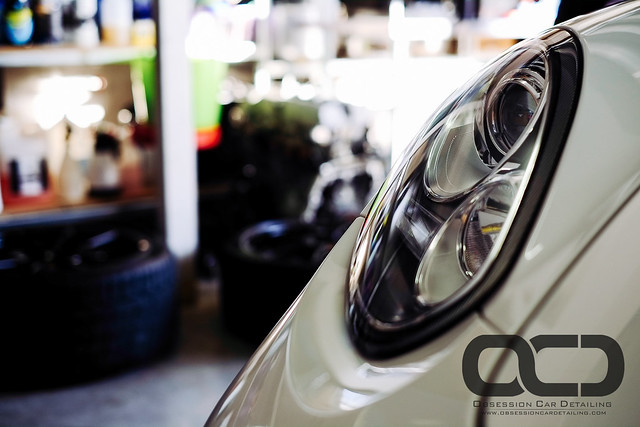
Headlights like new:
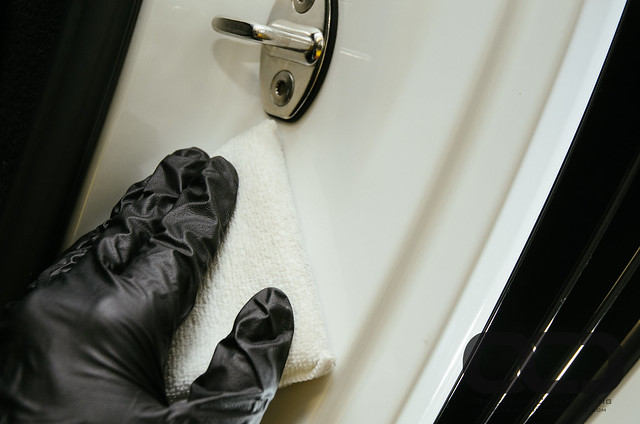
And being careful to make important areas:

Having the car up on stands makes it a lot easier to work on, especially as its so low!

After a single stage, looking a lot better, but some light swirls still remain:
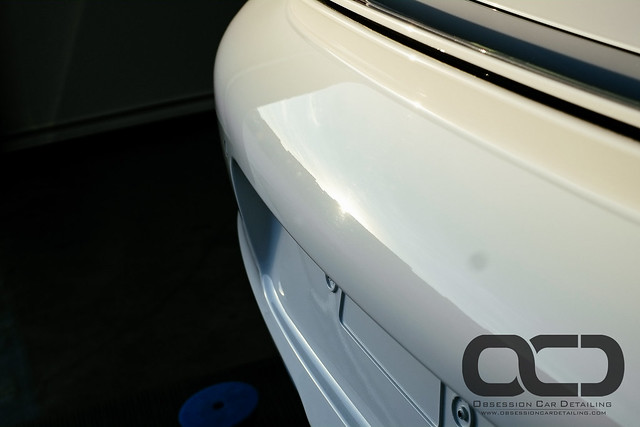
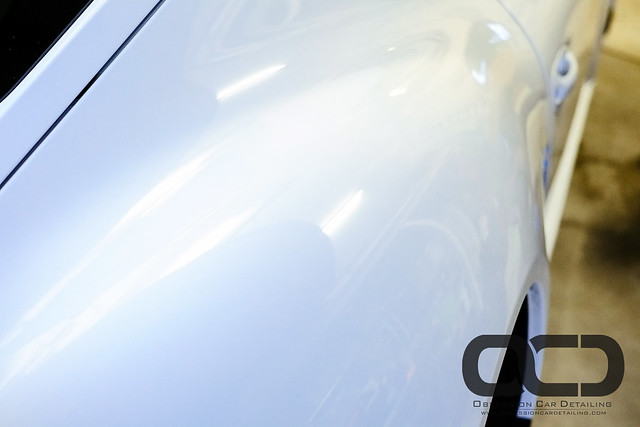
After correction, the car really was glossy!
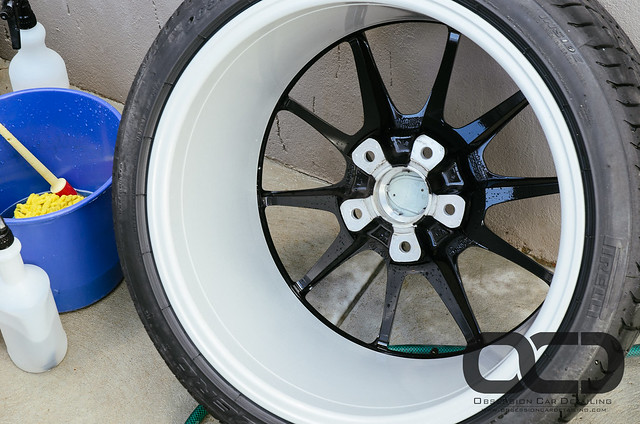
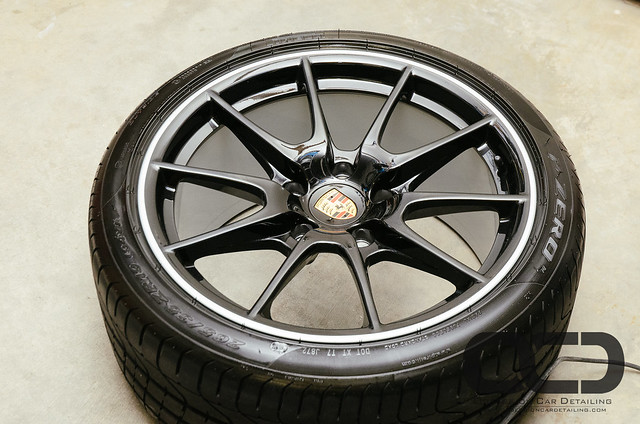
Wheels were also polished, and touch up paint applied where needed:
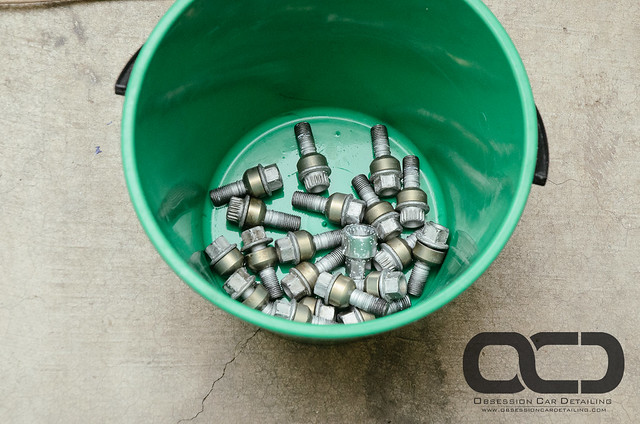
Bolts were soaked in OPC:
Wheels back on:
And torquing to the required spec:
Time for Opti-Coat!

And now time for bed! Stay tuned for part two!
Mike has owned his Cayman for some time, and wanted to get it looking as new again, and protect it with something durable. Enter Opti-Coat. Being a white car, a glass type coating would not provide any benefit, and with Opti-Coat providing proven protection, and superior longevity, the choice was simple.
Our job was to detail the car, in and out, wheels off, to get it like new, within Mike's time frame and budget. It was a hectic few days, but we managed it, and we are pleased to say Mike was blown away.
Enjoy the read, and check out https://www.flickr.com/photos/obsessioncardetailing/sets/72157643553575685/ for all the pictures. Don't forget to like us on Facebook!
Upon arrival, we were presented with swirls, scratches, water marks, dirt, everything you don't want on such a fine car!
Starting by removing iron fall out:
Then a foam bath:
Working on the wheels:
And taken off:
Attacking the undercarriage:
And touching up some stone chips:
The wheels were a mission. We spent 5-6 hours on the wheels alone!
We used clay to remove contaminants:
Along with a plastic razor blade:
Much better!
Side by side:
The Porsche paint was one of the most challenging we have worked with, it was super hard, and almost nothing removed the swirls. After hours of testing we hit upon a combination that worked, and the long, slow, detailed process of correction began.
Washing and drying pads as we go:
Headlights like new:
And being careful to make important areas:
Having the car up on stands makes it a lot easier to work on, especially as its so low!
After a single stage, looking a lot better, but some light swirls still remain:
After correction, the car really was glossy!
Wheels were also polished, and touch up paint applied where needed:
Bolts were soaked in OPC:
Wheels back on:
And torquing to the required spec:
Time for Opti-Coat!
And now time for bed! Stay tuned for part two!